
The most common reason to export a project from Premiere Pro to Davinci Resolve is for color grading. While Premiere is still considered superior as an editing tool, Davinci just has more robust grading tools. And that is why many video editors choose to use both. But how do you actually go about moving a premiere project into Davinci?
That is exactly what this tutorial will focus on. You will learn how to easily export a Premiere project to Davinci Resolve using an XML file. Then, we will show you how to send a project from Davinci back into Premiere to finalize the video. Let’s jump right into it!
What is an XML
Unfortunately, video editing software like Premiere or Davinchi are not compatible with each other. You can’t open a Premiere project in Davinci or vise-versa, this is where XMLs come in.
In simple terms, XML stands for “eXtensible Markup Language.” It is a piece of code that tells the software what cuts are made to what clips. And with an XML file, Davinci can create an identical edit of your project from Premiere.
So now that you know the basics of how an XML works, let’s show you how to do it step by step.
Export From Premiere Pro to Davinci Resolve: Step by Step Tutorial
Step 1: Create a New Sequence
First, you have to prepare your timeline before exporting. Therefore, create a new sequence and name it “grade” or something similar.
Step 2: Clean your Timeline
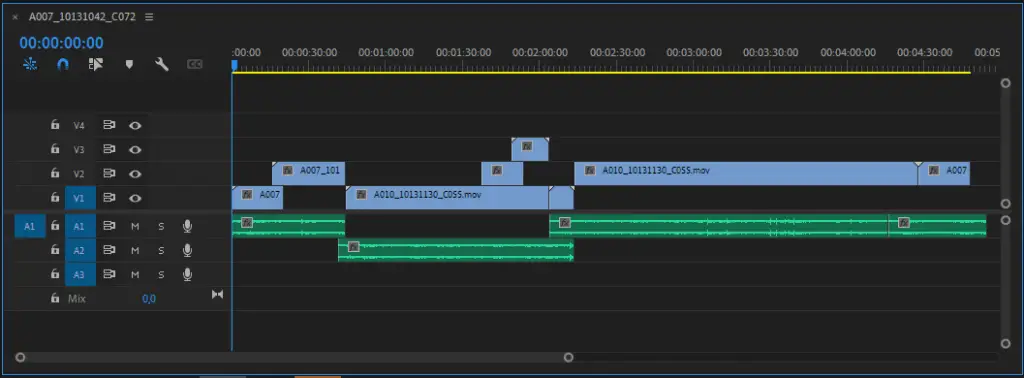
When you have a locked cut of your project, prepare your timeline by cutting everything down to one video track like this.
Flattening your timeline lessens the chance that you will run into issues later in Davinci.
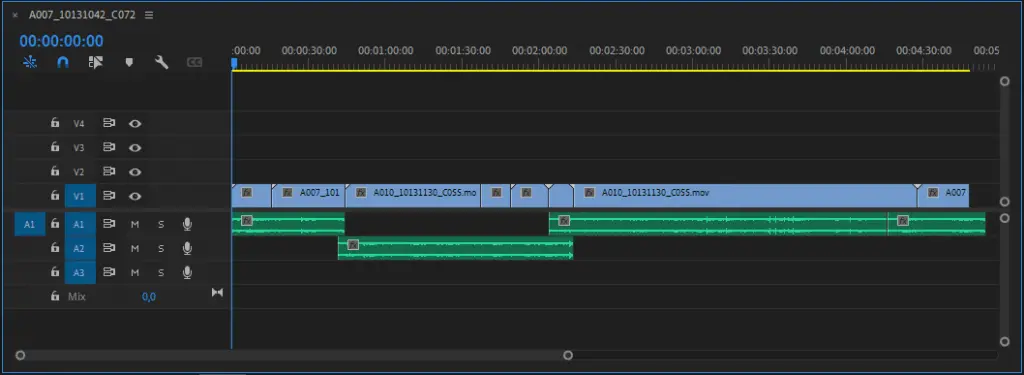
Step 3: Remove all Sound
You don’t need any sound when color grading, so including it is pointless. We recommend just removing it for the export and then just adding it back for the final edit.
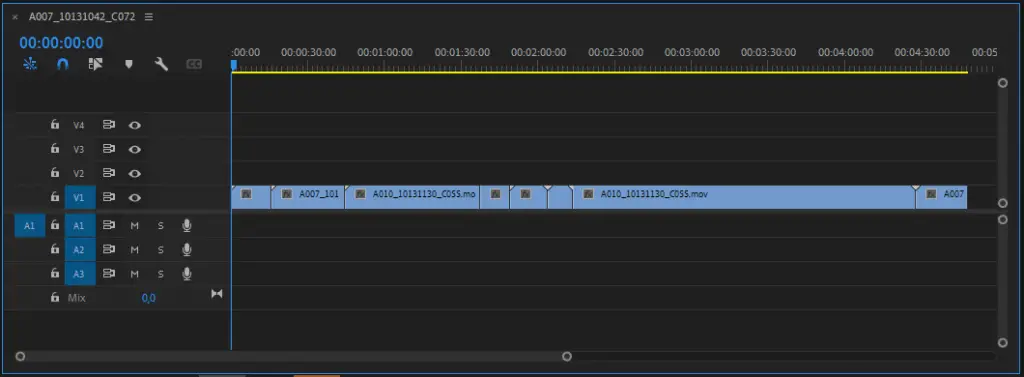
Step 4: Remove Custom Effects
The problem with keeping effects from Premiere is that they won’t translate to Davinci. Having said that, effects like dissolve should work. Also, if you have put any cropping or motion to a clip, that translates into Davinci as well.
The issues start when you have more complex effects like lens flares and filters. So if you must include those effects, you should export a clip with the rendered effect first, add it to your sequence in Premiere, and then continue with the other steps mentioned.
Step 5: Export a Reference File
The next step is to create a reference file so that you can later check that the project you have imported into Davinci is indeed identical to the one in Premiere.
This file doesn’t need to be high quality at all. In fact, we recommend just going with a highly compressed format to save time and resources. Just make sure to export it in the same resolution as the sequence you are editing.
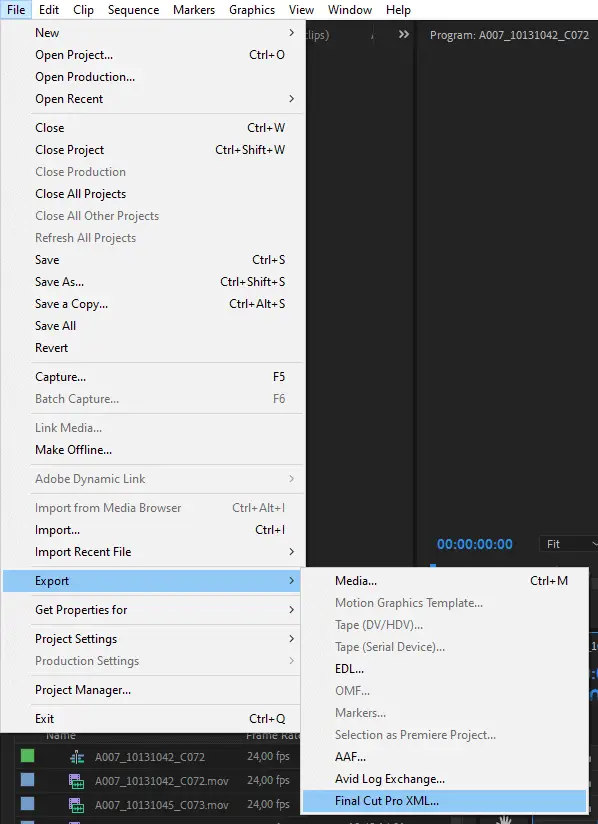
Step 6: Export an XML
When you have the reference file, it is time to export the XML. This is quite simple;
Go to File > Export > Final cut Pro XML.
Don’t let the “Final cut pro” part confuse you. It is the right option and compatible with Davinci Resolve.
Step 7: Import the Reference & XML in Davinci
Next, open up Davinci. In the project manager, simply create a new project.
Once in your new project, go to:
File > Import New Timeline > Import AAF, EDL, XML…
Select the file you just exported from Premiere, and you are good to go.
Image Scaling
Sometimes, there might be issues with image sizing between Premiere and Davinci. If you notice the clips are not displaying correctly once imported to Davinci, do the following:
Go to Files > Project Settings > Image Scaling
Once there you will see a section called “Input Scaling.” Make sure it is set to “Center crop with no resizing” and you should be good to go.
Step 8: Make Sure Everything is Synced
Now comes the last step. This is to check that everything has been done correctly. To do this, you place the reference clip above the imported cut in the timeline. Then bring the opacity down to 50% on the reference clip.
Now, watch the cut. If you have done everything correctly, you should see no difference and you won’t notice the opacity.
If the project is identical, congratulations! You can now move on to color grading.
Export Back to Premiere Pro From Davinci Resolve: Tutorial
In many instances, you might want to send your project back to premiere from Davinci once you are done grading. This is actually quite simple.
Step 1: Export XML from Davinci Resolve
Once you are happy with your grading, it is time to jump back to Premiere.
In the main menu of Davinci, you will find the Deliver page.

Once on the Deliver page, go to the section called “Render Settings” and find “Premiere XML.”
When your render is complete, you can go ahead and exit Davinci Resolve.
Step 2: Import to Premiere
Back in Premiere, you can now simply import the XML file you just saved.
Now you can add back all your audio and finalize your project.
Alternative Methods
An XML is not the only way to move a project between Premiere and Davinci. There are other methods as well.
EDL
One of these methods is by using an EDL. Similar to an XML, an EDL is a document outlining all of the editing decisions in a project.
But EDLs are very limited in how much info they can hold. If you want to export a project as an EDL, you are limited to just 1 video track and 4 audio tracks.
For this reason, EDLs are obsolete but might still be used by some finishing houses in post-production.
AAF
Yet another such file is an AAF or “advanced authoring format.” An AAF is basically identical to an XML and you don’t need to know much more than that.
In Conclusion
Exporting from Premiere Pro to Davinci Resolve can be a hassle, and it is easy to make mistakes. But with this tutorial at hand, you should be much more confident you did it correctly.
Every project will be different of course, and that is why you should plan your workflow in detail beforehand, as it might save you some of the trouble you might run into.
In addition, we also have an article about exporting in Premiere in general. You might like that one too.
Hi,
Thanks for this tutorial, but it works if I make my editing on Premiere with the same clips that I will calibrate on DaVinci, but what if I made Proxys on Premiere Pro and I want to take back my native clips for the color grading ? How do I do that ?
Because I’ve tried but DaVinci does not show well my anamorphic rushes. Do you have any tips for this problem ?