
Streamlabs OBS is the current choice for most streamers to transfer their live video data from their system to an online platform. It enables creators to design and edit their live feeds before publishing them for the world to see.
Twitch has a similar hold of the live stream platform market. Its interactivity and ease of use make it popular for gaming and IRL streamers.
It’s quite simple to setup Streamlabs for Twitch, although it does require a fair few steps to make sure every setting is correct. Follow the guide below to ensure you are good to go for streaming on Twitch from Streamlabs on Windows!
Installing Streamlabs
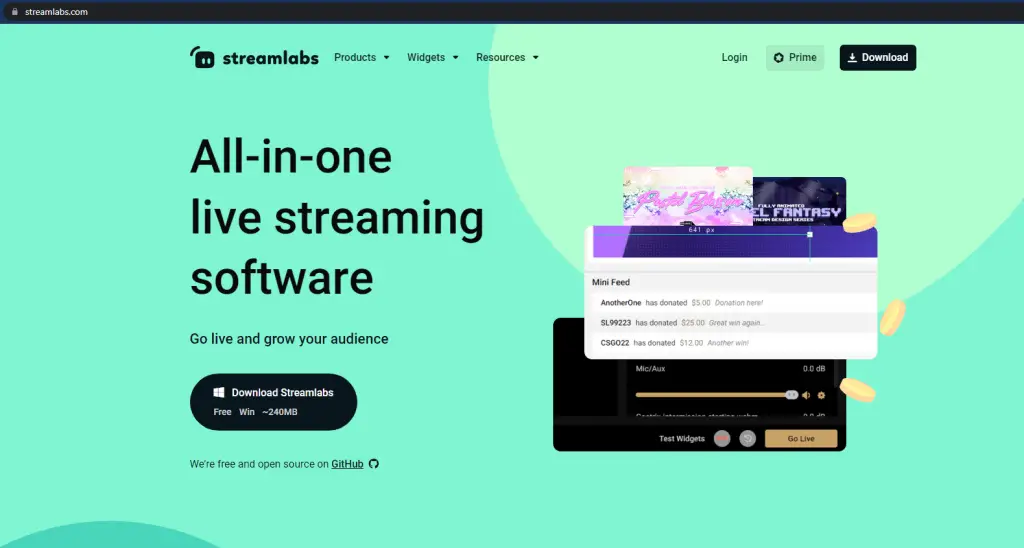
The first thing you’ll need to do is install the Streamlabs OBS software. Go to the Streamlabs website, and you’ll see a large download button in the top right-hand corner of the page.
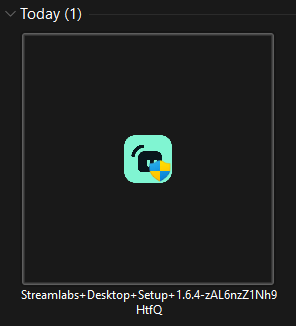
Once you’ve clicked the download button, this file will be downloaded to your default downloads folder. Right-click the file and choose ‘Run as administrator.’
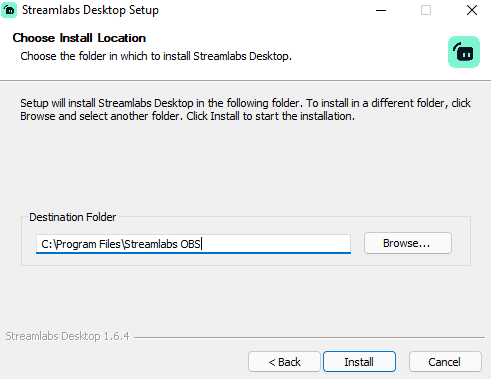
Choose the location where your file will be installed (the default destination folder is usually fine) and click install. After installation, a shortcut will be created on your system desktop for ease of access.
Top Tip: When opening Streamlabs OBS, always right-click and choose ‘Run as administrator.’ This will grant SLOBS additional permissions, which it needs to perform certain actions. Streamlabs may crash occasionally or experience increased frame drops if you don’t do this.
Connecting Your Twitch Account
Streamlabs have released an update that allows you to log into their software using your Twitch account. It couldn’t be much simpler to setup your Streamlabs account with Twitch nowadays!

Inside SLOBS, go to your settings. Your settings can be found by clicking the cog button in the bottom left-hand corner of your screen. It’s usually found next to your stream information and statistics, including CPU usage, FPS values, and internet speed.
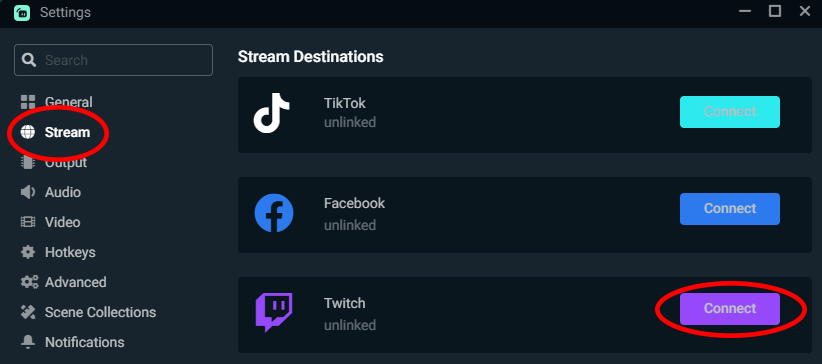
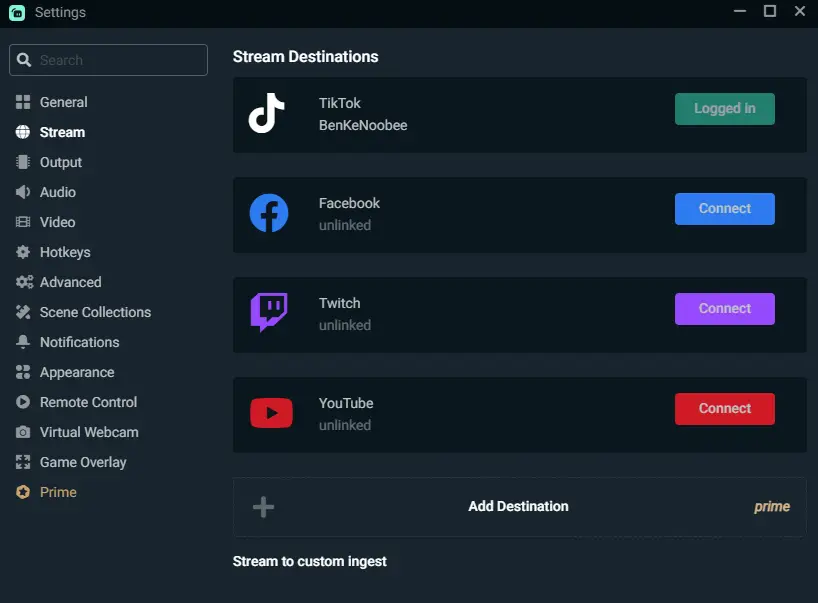
Click the ‘stream’ tab. You will see a list of popular streaming platforms. On the Twitch line, click the purple ‘connect’ button.
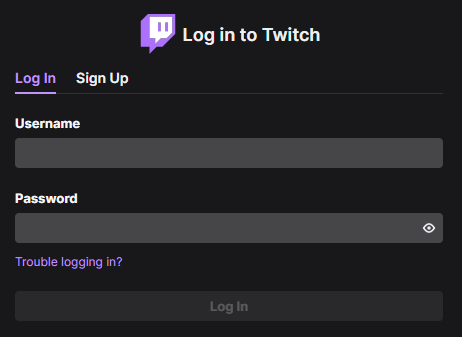
You will then be prompted to log in with your Twitch credentials, including your username and password. Not only will you need these, but if you have two-factor authentication enabled on Twitch, you will also need your mobile device handy to pass the security wall.
Click ‘log in,’ and you will be logged in to Streamlabs with your Twitch account!
Top Tip: Your scene collections are saved in the cloud and associated with each social media platform. If you log out of Twitch and into another platform, you will lose the collection on screen. Don’t panic; just log back into Twitch on Streamlabs OBS, and your collection will reappear!
Using A Stream Key
In some instances, the setup with Twitch and account login on Streamlabs throws up some problems. These could range from communication errors to simply forgetting your login details. Luckily, there is another way around this.
Your stream key is an alphanumeric sequence of numbers that acts as a unique ID for your stream. With it, anybody can stream to your channel without having to log in with your Twitch credentials. For this reason, be very secretive with your stream key and don’t give it to anyone you don’t fully trust.
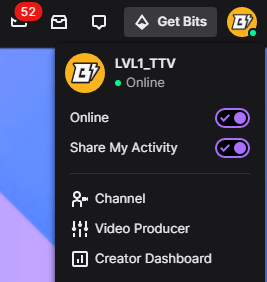
First, navigate to your creator dashboard on Twitch to find your stream key. You can find your creator dashboard by clicking on your logo in the top right-hand corner of the home page. You’ll see the dashboard button below the channel and video producer buttons.
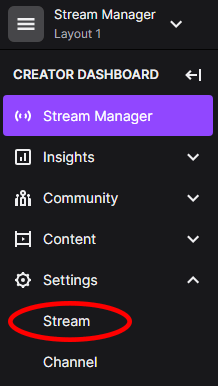
Once inside your dashboard, select ‘settings’ on the left-hand side toolbar and ‘stream’ in the dropdown menu.

At the top of this page, you’ll see a primary stream key input box with many hidden values. This is to protect you in case anybody else is watching. You can simply copy your stream key to your dashboard by clicking copy at the end of the line, or if you really want to see it, you can click the purple show button underneath. Copy your stream key before moving on.
Top Tip: If you think somebody has gained access to your key, you can reset the key by clicking reset here.
Back in Streamlabs OBS, navigate to your stream settings menu. Click on the streams tab, and at the very bottom of the page, you should see a link that says ‘stream to custom ingest.’ Click this link.
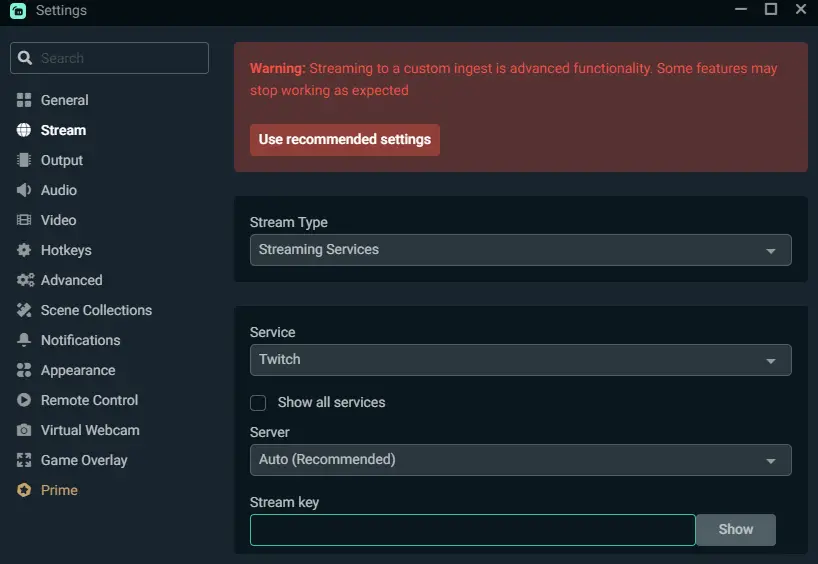
The window should now change its appearance to what you see above. You can ignore the big red warning message at the top; Streamlabs is optimized to work with direct connections but does also work with custom ingest servers.
Make sure the ‘stream type’ is set to streaming services, the ‘service’ is set to Twitch, and the ‘server’ is set to auto. You can then paste the stream key you copied from your Twitch dashboard into the stream key line of these settings. If you’d like to check that they match, you can always click the ‘show’ at the end of the line and compare it with your Twitch creator dashboard key.
Output Settings For Twitch
There are a few generic output settings that you’ll want to make sure you have correctly selected before going live on Twitch. Without them, you may experience interrupted connections or laggy streams.
Video Bitrate
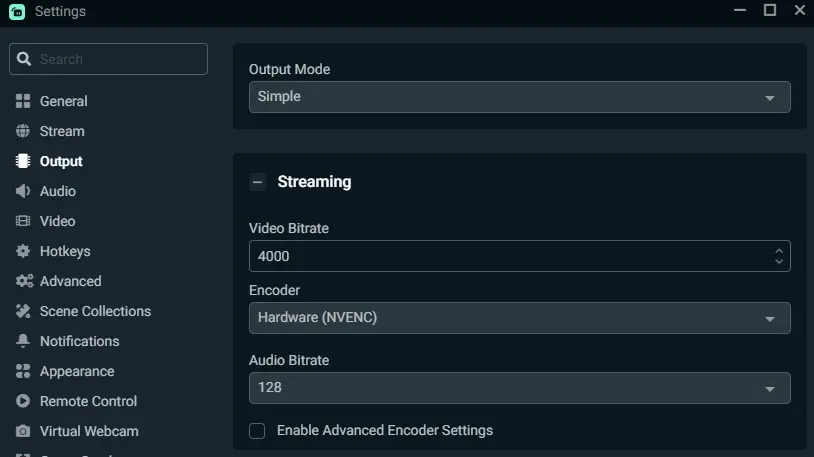
Twitch recommends no higher than 6000kbps bitrate. Although this is their maximum recommendation, this doesn’t mean it’s optimal. Most streamers stream at anywhere from 3000 – 4500kbps. The issue with higher bitrates (and better quality as a result) comes when you have viewers from areas of poor internet speed. The higher your bitrate, the more potential viewers you exclude from your streams.
We’d recommend a starting bitrate value of no more than 4000kbps.
Encoder
Your encoder is the part of your system which takes the stress of encoding your video data to send to Twitch. Streaming can be quite intensive, so it’s important to select a part of your system which can handle these processes.
Most streamers set their stream encoder to their GPU (Hardware). This takes the stress off of your CPU (Software) and allows other processes to continue running as normal on your system.
To start with, set your encoder to Hardware (NVENC). If you continue to encounter issues, try switching this to Software (x264).
If you’re still having issues with encoding, check out our article on how to fix these problems right here.
Audio Bitrate
Twitch currently recommends that you stream with an audio bitrate of no more than 128kbps. This is more than enough bandwidth to produce fantastic audio quality. The reality is that any higher than this, your viewers would need to have state-of-the-art audio equipment to even hear the difference!
Video Settings For Twitch
As with your output settings, there are also some basic video settings to check before going live to save you potential headaches for your Twitch-Streamlabs setup.
Base (Canvas) Resolution
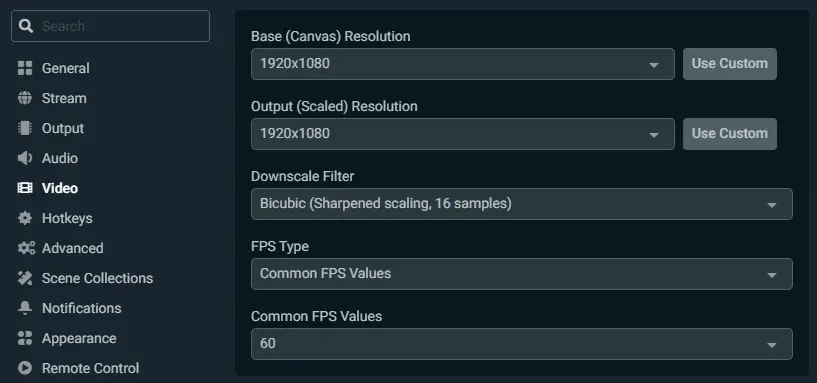
This should match the resolution of your system. To check this, go into your system settings and find the ‘display’ menu. You will be able to see your screen resolution there. It will usually be a 16:9 resolution such as 1920×1080 or 1366×768 unless your monitors are widescreen monitors.
Output (Scaled) Resolution
This is the resolution that you wish to stream at. Usually, this is the same as your base resolution; however, if you are experiencing lag issues, you may want to choose a lower resolution to stream at. The most popular example of this would be people who have a 1080p monitor streaming at 720p.
We’d recommend setting this to 1280x720p, to begin with. If the streams appear smooth and have no issues, bump this up to 1920×1080.
Downscale Filter
This is the specific filter you wish to apply to downscale your resolution. This only applies if your output resolution is lower than your base resolution.
If the above is true, set this to bicubic.
FPS Type
Leave this at its default value, ‘common fps values.’
This determines the number of frames you’ll be sending per second to Twitch. The more frames, the more internet speed and CPU power you’ll require.
We recommend starting at 30FPS and bumping this up to 60FPS if your streams appear reliable and consistent without frame drops or lag.
In Conclusion
Streamlabs OBS has made it much easier to setup your stream on Twitch in recent years. With in-built account connectivity and direct communication with the Twitch servers, it’s never been simpler to get started on SLOBS. There are just a few things you need to make sure are set up correctly. Hopefully, with the above guide, you are all set and good to go; see you on Twitch streamer!