
Opening up a video editor for the first time can be quite intimidating. But don’t worry, it is not as complicated as it looks, and we have a great guide here to help you through the process. After a few edits, it will come naturally to you.
If you are just starting out with vlogging, be sure to check out our Ultimate Vlogging Guide 2025.
In this In-Depth guide, we show you the basics of how to edit a vlog.
Prep
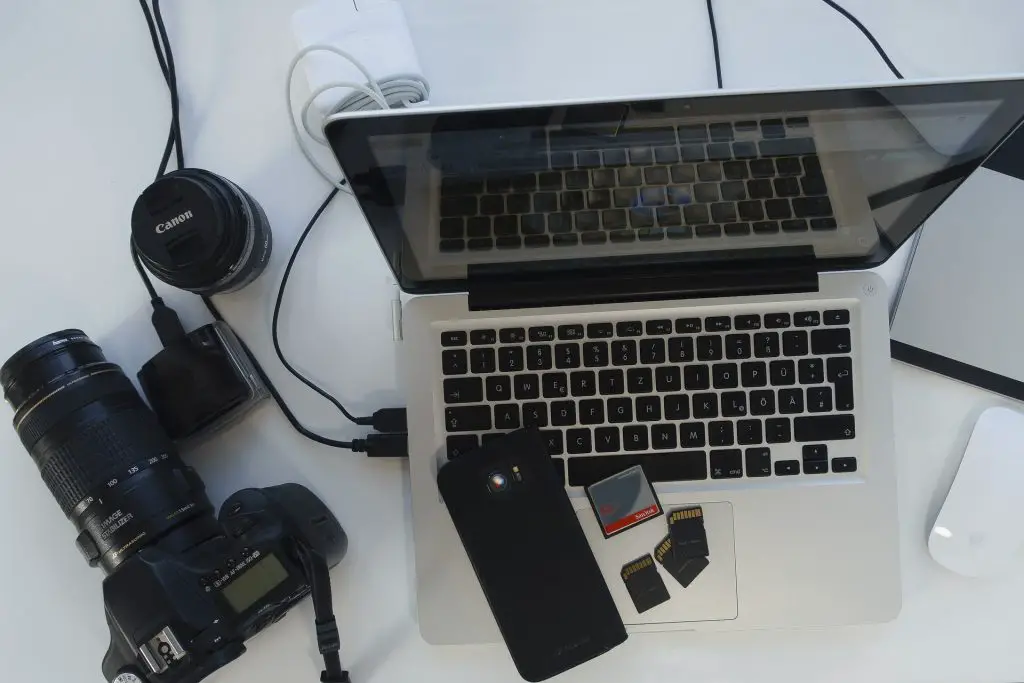
There are a few things you want to prepare before diving into how to edit your vlog. One is going to be getting your content and story planned, a good computer to edit on, and organizing your media files.
Planning
Before you start editing, or even before you begin recording footage for your video, you want to make sure you have a preplanned beginning, middle, and end for your content. A vlog needs a structure so that it does not feel all over the place.
Also, think about what the tone of the video should be, what music will you use? Will the video be fast-paced, or will it have a slower flow?
Computer Requirements
Video editing takes up a lot of resources on your device, especially with more advanced software like Premiere Pro or Final Cut Pro.
You want to make sure that your computer can handle video editing. Whether you have a Mac or PC, the following criteria below is a quick way to check if you have a device that can handle vlog editing.
| Requierments for Video Editing: |
| RAM – You should have a minimum of 8 GB RAM in your device. Ideally, 16-32 GB RAM (16GB is minimum for 4K editing). |
| Processor – Intel’s multicore processors are great for video editing. Ideally, with four or more processor cores. |
| Graphics Card – Preferably with a minimum of 2GB memory. Ideally, a graphics card from AMD or NVIDIA. |
| Storage – Often a video file can be over 1GB, especially if you import RAW media files. 4K files are even bigger. You will need to have some freed up space in your hard drive, or else you could consider getting an external SSD for extra storage. |
Keep your files Organized
It is almost impossible to have a consistent workflow without keeping your media files organized. When importing video from your camera, you often end up with a lot of randomly named clips. Delete the clips you don’t want and name your clips so you can find them more easily. You can also categorize clips with folders.
This makes sure that you can easily find what clips you want to use when you are in the editing software.
Video Editing Software
Like you probably have figured out, you will need software to edit your video on.
Free Vlogging Editors
iMovie (macOS) – This is a video editor that comes on all macOS devices. iMovie is straightforward to learn; it is simple yet very effective. Great for beginners.
HitFilm Express (PC, macOS) – In our video editors review, HitFilm Express can out as one of the best free video editors for vlogging. It is entirely free, without any annoying trial watermarks.
Shotcut (PC, Linux, macOS) – Shotcut is an open-source video editor. It comes with many advanced features. It is a bit trickier to learn compared to other editors out there but still an excellent option for vlog editing.
In the list above, iMovie is the easiest to learn. But regardless of what software you use, you need to watch a few tutorials to understand how to use it.
Paid Vlogging Editors
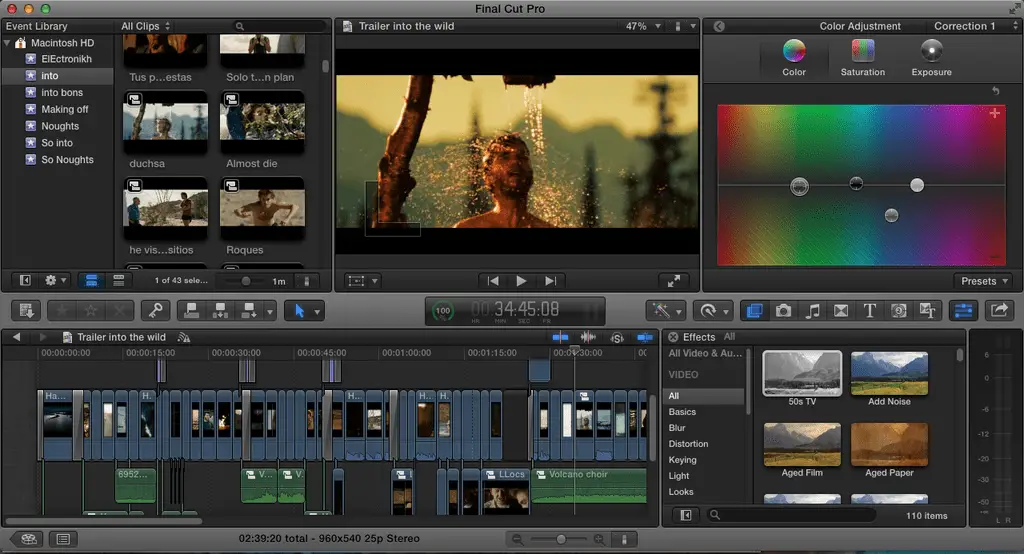
Most professional vloggers use Adobe Premiere Pro and Final Cut Pro. Not only are these video editors expensive but require practice and work to master. Yet they allow you to do more complex edits and have more advanced features compared to a free video editor.
If you want to learn more about the best video editors for vlogging, check out this guide here.
How to edit a video on a smartphone
You can also edit a vlog on your smartphone. For videos not requiring a lot of editing, this could be an option for you.
For iPhones, you can use the iMovie app (free). If you have an android phone, you could use Vlogit(free) or Premiere Rush (paid). With Premiere Rush, you also have the additional feature of cross-device editing.
The Editing Environment
All video editors look very similar. There are a few universal features all video editors have, learning those can help you navigate the editing environment better.
File Browser – You access all the media files for your project from the file browser. You can import video, audio, images, and templates. Most video editors also allow you to create bins or folders to organize your project better.
Sequence – In most video editing software, saved edits are called sequences. You can also combine sequences into one big sequence. This is useful in very large projects where you have lots of edits to keep track of.
Tracks – Tracks are usually stacked vertically on the timeline. This is where you can put in the media you want to cut (video/audio/pictures)
Viewer – The viewer is a video player generally located on the left side of the window. It is used to preview clips, before and after effects or transitions are applied.
Timeline – Every video editing software has a timeline. It is the section where you cut clips, photos, and audio together. It is called a timeline due to the various pieces of video/audio being lined up horizontally.
Player – The player plays back the entire edit on the timeline. This gives you a preview of the finished product.
Basics of video editing
Below are some basic concepts in video editing. Understanding those will make your life a whole lot easier when editing your first vlog.
A/B roll

Understanding A and B roll can help you make better editing decisions and organize your files more effectively.
A Roll – In video production, A roll is video footage that is conveying the main story of your content. It is the main narrative of your video.
B Roll – All supplementary footage to the A Roll is called B Roll. In vlogging, an example would be an aerial drone shot of a location in a travel vlog.
Jump Cuts
A Jumpcut, also called a “trim edit”, is when you remove a section of a clip or “trim” it. It could be a section at the start, end, or somewhere in the middle that you want to be removed. You can use trim edits to cut out silent parts or to increase the pace of your video.
Split edits
A split edit is when you transition from Shot A to Shot B while retaining the audio form Shot A. A great example of this is a dinner scene where two people are talking. The film cuts between the two people talking while using one continuous track of audio. Without the split edit, the conversation would not flow as well.
There are two kinds of split edits:
J Cut: When audio precedes the video.
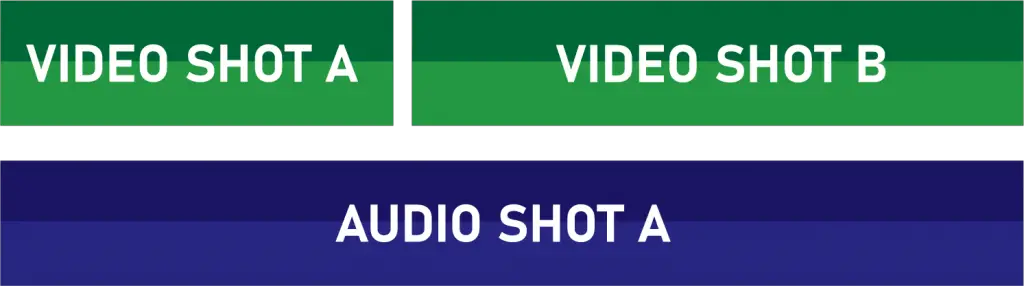
L cut: When video precedes the audio.

Color Correction & Color Grading
A good editor always color corrects his videos. Color correction is done to make sure that the lights and colors are matching in all clips.
Some people also use color grading in their vlogs to give them a certain look or style. Color grading can make your video appear more cinematic, professional, or convey a certain mood.
Both Color Correction and Color grading can make a massive difference in the appearance and quality of your video. Never overlook these steps.
Use Music
Music can make or break a video. No wonder big Hollywood studios spend millions on creating scores for their films. Travel vlogs, comedy sketches are just two examples of videos that use a lot of music for montages, intros, outros, and more.
We recommend using royalty-free music. There are both free and paid options out there. Youtube even offers its royalty-free library you can use. We have made a guide with the best sources for royalty-free music here.
Take your time and don’t rush to find the right tracks to use for your video. There is nothing worse than stock-music that doesn’t really fit into the video or clip. If you do a throughout search, you will find some real gems out there.
Titles, Text, and Graphics
A big part of editing vlogs is going to be titles and text. Most video software come with a pre-installed title and text templates, depending on the video editor, these templates are customizable.
Beginner video editors make the common mistake of adding too many effects/transitions/text and graphics. But when used sparingly, all of these can add a lot of production value to your video. Keep it simple!
Transitions
A transition is how scenes or shots are combined. The most common transition is just a cut to the next shot. But other transitions can be used as well to represent the passage of time or to convey a certain mood. You can find common transitions in the transitions panel of your video editor.
Effects
Effects can be added to a clip to stylize it or make it more interesting. You can play around with effects, but remember to use them sparingly. On your video editor, effects are commonly found next to or with transitions.
How to remove a green screen
If you are using a green screen in your video and want to remove it you should look for something called Chroma Key. Chroma key is the process of removing the background from a video. Depending on the video editor you use it might be called different things.
Streamline your video editing process
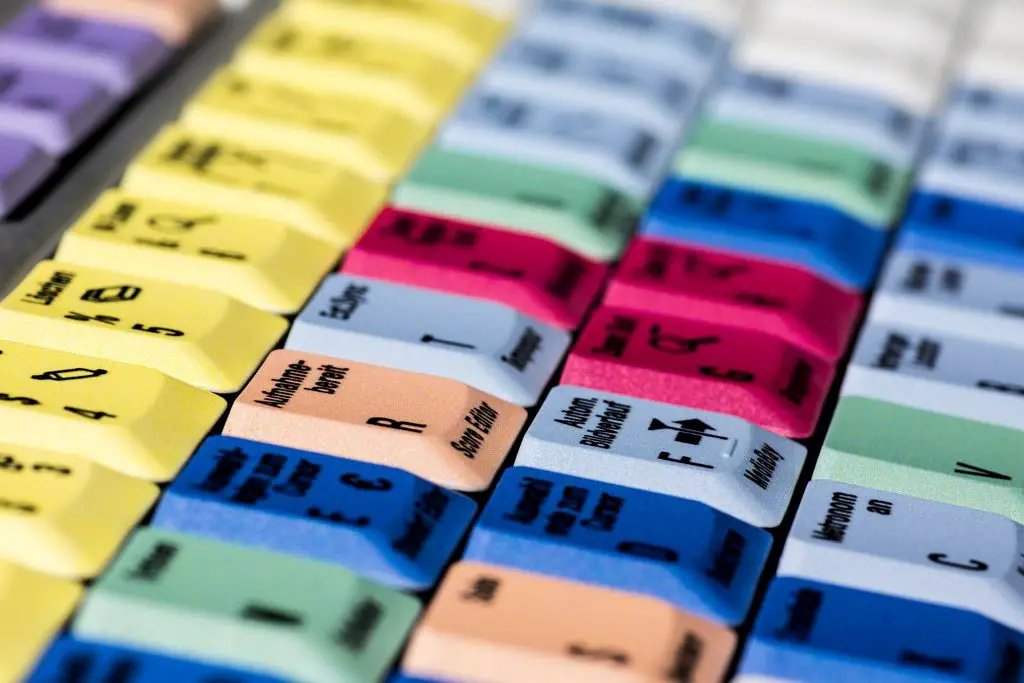
If you want to edit a vlog faster, keyboard shortcuts are very important. Learning just the most common ones will streamline your video editing process significantly. You could even invest in an editing keyboard is you are really serious about this.
Exporting your vlog
When it is time to export your finished vlog, there are a few things to think about.
The best file type to use is .mp4. If your video editing software does not export in this, you can use a resource like https://video.online-convert.com/convert-to-mp4 to compress the file.
Youtube recommends exporting the video in the frame rate it was originally recorded in. The most common frame rates are 24fps, 30fps, and 60fps. also use the Recommended Video Codec: H.264
Recommended bitrates for upoading to Youtube:
- 720p: 5 Mbps
- 1080p: 8 Mbps
- 1440p (2k): 16 Mbps
- 2160p (4k): 35-45 Mbps
Recommended resolutions for uploading to Youtube:
- 2160p: 3840 x 2160
- 1440p: 2560 x 1440
- 1080p: 1920 x 1080
- 720p: 1280 x 720
How to learn Video Editing
If you want to improve your editing skills, there are resources beyond this guide that can help you. You could use online learning platforms like Udemy or LinkedIn Learning. Video courses are an ideal way to learn how to edit a vlog.
If you want to learn from industry insiders, Inside the Edit is a great place to go.
If you want to learn more about motion graphics and After Effects, you should check out the guides found at Video Copilot.
In Conclusion
We hope you found this guide helpful. By now, you know the basics of how to edit a vlog.
Remember, it will take time and effort to master editing. Expect that your first videos will take a long time to edit, but if you stick with it long enough, editing a vlog will come naturally to you, and you can focus more on the creative aspects of creating content.
If you liked this guide about how to edit a vlog, you might also like our guide on how to start a vlog in 2025.
Thanks you very much for your articles, they really have helped expand my ideas. Awaiting for more amazing stuff!!!