
OBS Studio is known worldwide as a highly reliable streaming software used by streamers both big and small. But it is also an incredibly capable capture tool. Instead of streaming your screen, you can record video directly to your device with OBS Studio. Gone are the days of frames screen captures and complicated setups.
The recording feature is a fantastic tool to capture gameplay, a webcam source, or display capture and save it on your local device ready for future uploads or editing.
So how do you record video with OBS Studio? Read on for a complete guide to this extremely helpful feature!
The Difference Between Streaming and Recording in OBS
Streaming and recording are two features that OBS offers and can handle extremely efficiently. It is the leader in the streaming software market for a reason and it’s the combination of these two features that make OBS Studio so impressive.
Streaming can be simply defined as sending video from your device to another location continuously. It’s not just one file transfer but instead a continuous transfer of data, hence why it’s called a stream; the data keeps on trickling through.
Recording is the process of capturing your footage and saving it to your local device. There is no internet activity present and so can be done offline without an internet connection.
The file will be saved to your device and can be accessed immediately after recording for editing or upload to a video streaming service such as YouTube.
How to Record Video in OBS Studio
Due to OBS being predominantly a streaming software, it’s not immediately obvious how to record locally or even that the feature exists!
The eagle-eyed among you will notice that below to ‘Start Streaming’ in the bottom right-hand corner of your screen is a Start Recording button below. This is your record button and will initiate your recording once clicked.
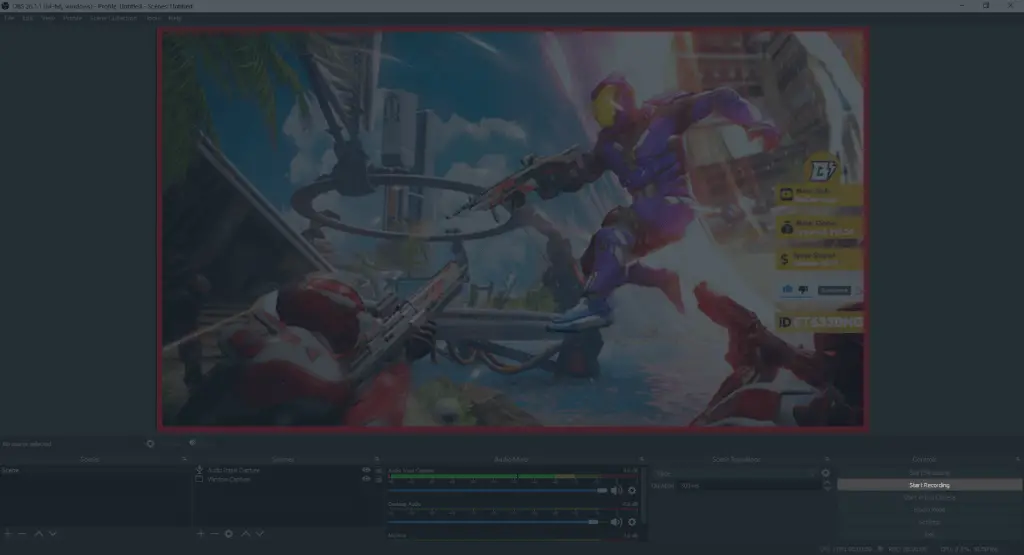
You’ll know that you are recording when your ‘REC’ button turns from grey to red and it will also display the amount of time you have been live to the left of the button.
To end your recording simply click the button again and it will return to its grey state.
What does the ‘REC’ button record?
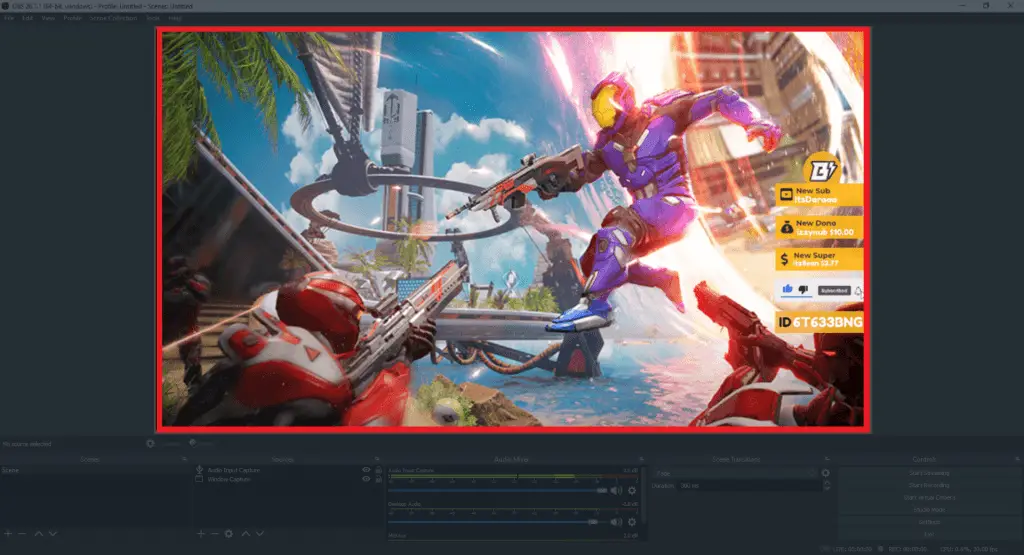
The record button will record everything inside your stream preview box. This is highlighted within the two red squares above.
The record feature will capture everything that would be visible to your stream viewers. This includes overlays, alerts, and streamlabels. It will also capture your audio settings in exactly the same way.
Where Does OBS Save Video Recordings?
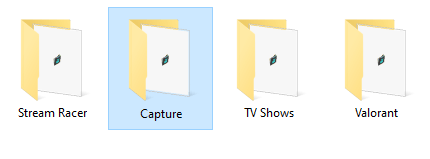
OBS Studio saves your video recordings to your PC ‘Videos’ file by default. This can be found by going to your File Explorer -> (PC NAME) -> Videos.

Your file will be sat in that folder and available for further editing or upload.
How to Change the Location Where OBS Saves Recordings
Although your ‘Videos’ folder is the default location to store recordings, you can change this quite easily inside the OBS Studio settings menu.
Click the cog in the bottom left-hand corner of the screen to bring up the OBS settings menu. Once inside, navigate to the ‘Output’ tab on the left.
In the output tab, go to the ‘Recording’ sub-menu. It might be a drop-down menu, in which case click the + symbol to open up all of your options.
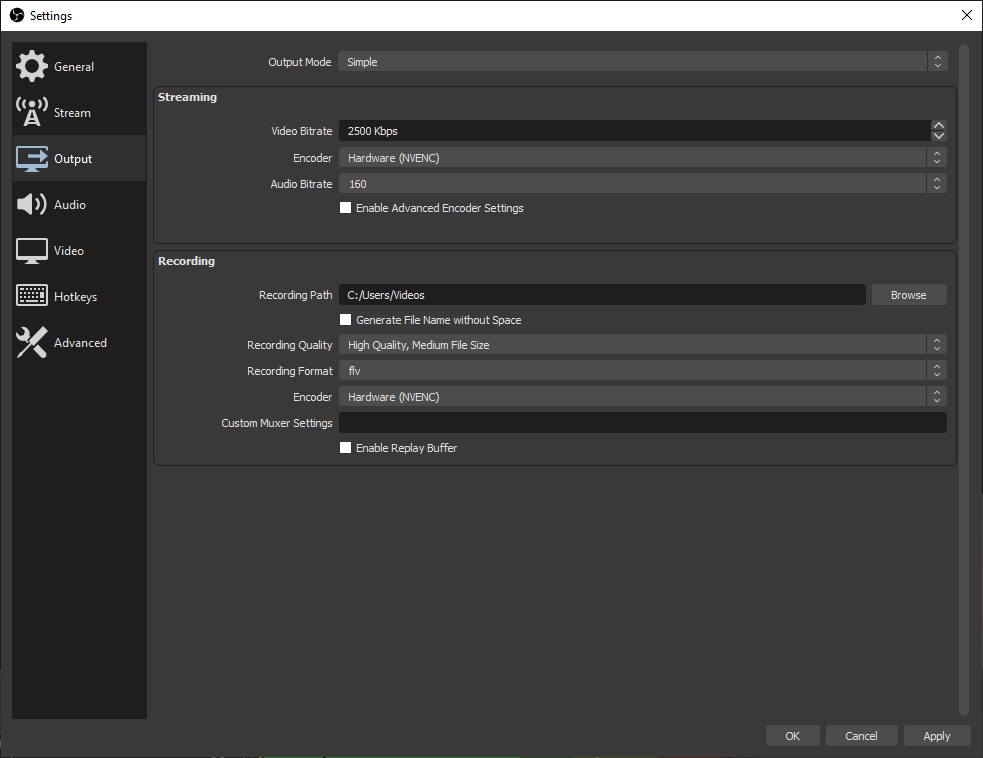
From here you should be able to see your recording path. This will show you where your recordings are due to be saved once finished.
To change where OBS Studio saves your recordings, click ‘Browse’. This will bring up your file explorer and allow you to choose a new or existing folder.
To create a new folder for your OBS recordings, right-click and choose New -> Folder. You can rename this folder by clicking F2 while the folder is selected.
One tip would be to double-check the amount of space on the drive where you are creating your recording path folder. OBS recordings can be EXTREMELY large in terms of file size so consider freeing up some space or redirecting your recording path to an external drive.
Can I Set the Record Button to a Hotkey for Easier Access?
Hotkeys are buttons on your mouse or keyboard that have been programmed to carry out additional tasks. OBS has a fantastic hotkey system and does allow you to hotkey an input to both start and end recordings.
This is really helpful when you are mid-game and want to quickly capture some gameplay without going into OBS Studio.
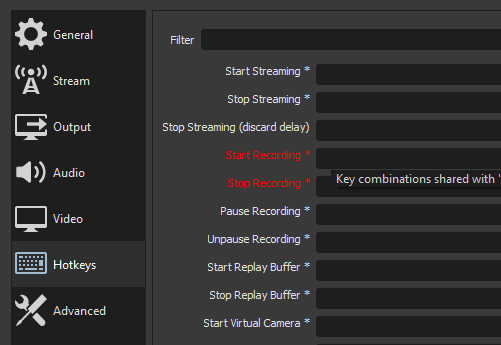
To set up hotkeys for recording, go to Streamlabs settings and navigate to the ‘Hotkeys’ tab.
At the top of the menu, you will see ‘Start Recording’ and ‘Stop Recording’. These are the rows that we will be working with.
To add a hotkey simply click in the blank box to the left of the ‘+’ button and push the key on your keyboard or mouse that you want to execute that process.
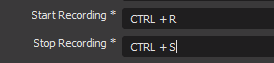
Here is an example of how it should look if set up properly. We chose CTRL+R for record and CTRL+S for stop recording (yes, you can use combinations of keys as well as single keys!).
To remove a hotkey just click the minus button to the right of the row. Similarly, you can add an additional hotkey to the same command by pressing the plus button.
More Recording Settings in OBS
There are a whole bunch of incredibly helpful recording settings that you can change in the OBS settings menu under the ‘Output’ tab.
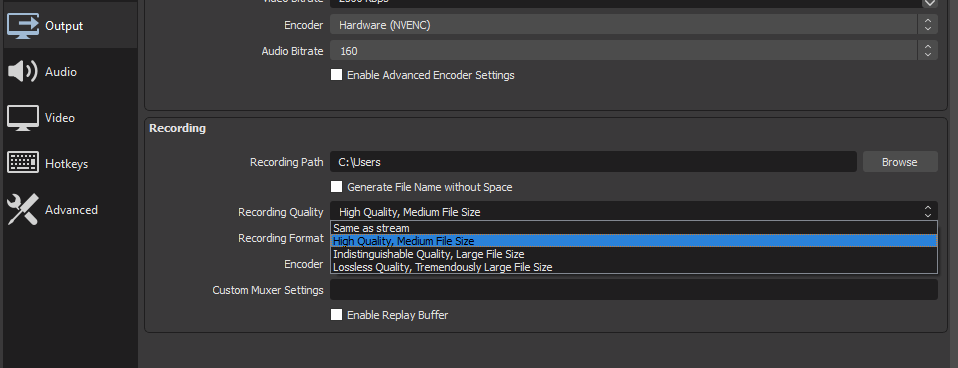
Recording quality has four options; Same as Stream, High Quality, Indistinguishable, and Lossless. These generally increase in quality the further down the list you go. We would recommend the HQ or Indistinguishable options for the best results unless you are working with extremely high-end equipment. Lossless quality will give you the best resolutions but will also save your files in sizes similar to entire games!
The recording format menu deciphers what video format your video will save in. Stick to .mp4 or .avi for the best compatibility with other software.
Your encoder decides which part of your PC actually processes the recording data. This is usually your GPU (NVENC) but if you have a good processor you could switch this to your CPU (Software x264).
Why would anyone want to record instead of stream?
How to Record Video While Streaming in OBS Studio?
Recording whilst streaming is another fantastic feature included in OBS, but it does come with a downside. Recording and streaming at the same time are extremely stressful on middle to lower-spec PCs and will probably crash either your streaming software or game if that’s what you’re streaming.
We would only recommend using this feature if you are confident your PC can handle stressful processes.

To record while streaming go to the ‘General’ tab under settings. Under the ‘Output’ submenu, check ‘Automatically record when streaming’. Your Streamlabs will now start recording whenever you go live!
Alternative Software for Screen Recording?
There are quite a few serious alternatives to OBS for recording but none of them get it quite as brilliantly in our opinion.
Geforce: If you are using an NVIDIA graphics card, you could set up GeForce experience to capture parts of your gameplay with a hotkey. It can also be used to record entire sessions but is known to cause frame drops and lag.
Radeon Live: Radeon ReLive is the AMD alternative to GeForce experience and can be used by anyone with an AMD graphics card. Funnily enough, it’s almost identical in performance and visual display to its competitor!
FRAPS: FRAPS was probably one of the original capture software and still performs well to this day, but to remove the watermark you will need to make a one-off payment.
Bandicam: Bandicam is yet another OG capture software that performs very well and has a fantastic catalog of features and adjustable settings. The issue here is the price. Yes, you’re getting good software but the price does not make sense when you have Streamlabs sitting there for free!
In Conclusion
And there you have it, a complete guide on how to record video with OBS Studio, where video recordings are saved, how to change your quality settings, we hope we’ve got you up and running! This tutorial also works well for recording video with Streamlabs OBS (SLOBS).
Looking for a complete guide to streaming resources? We’ve got your back, check out our complete guide right here!