

With vlogging being more popular than ever, there is endless opportunity for new creators. But starting a successful youtube channel is hard, and you might struggle to get any views at the start. Learning how to create a youtube thumbnail that gets clicks can help you tremendously.
YouTube reported that 90% of the top-performing videos on YouTube have custom thumbnails. It is one of the deciding factors for ranking a video.
A good thumbnail grabs the attention of a potential viewer and communicates what your video is about. Think of it as a book cover for your vlog. In this guide, we will show you how to create an effective youtube thumbnail that gets clicks.
If you want more actionable info about vlogging, make sure to also check out our Ultimate guide to starting a vlog in 2020.
What is a Youtube Thumbnail?
The thumbnail is the small image that appears next to a video. The thumbnail and the title are the first impressions potential viewers will get of you and your channel.
Youtube automatically selects a screenshot from your video as the thumbnail. But you can also create custom ones. Vlogging being a competitive space, there is always a battle in rankings and for clicks. Making custom thumbnails can help you stand out from the crowd.
Most thumbnails go ignored because people don’t put in the effort to make them. But creating a youtube thumbnail does not have to take that long, nor does it have to be difficult. And you don’t need any expensive software to do it. Simply follow what is laid out in this guide and apply it to your videos.
Here is the step-by-step guide on how to create an effective Youtube thumbnail:
How to Make a Thumbnail That Gets Clicks
To create a thumbnail that will get clicks, you have to grab the viewer’s attention. Below, we have laid out the best practices for creating a successful thumbnail.
Get the Size Right
The first and most crucial step is to get the size right. Using the recommended resolution will make sure the thumbnail is displayed correctly across all devices. Below are the recommended export setting for Youtube thumbnails:
Size and file requirements for Youtube thumbnails:
| Ideal size: | 1280 x 720 pixels |
| Aspect ratio: | 16:9 |
| File Size: | 2MB or smaller |
| File Format: | .jpg, .gif, .bmp, or .png |
Apply the “Rule of Thirds”
The “rule of thirds” is a visual composition concept that creates images that are pleasing to look at.

Most cameras have a composition grid that appears on the LCD screen that divides the image into 3×3 blocks. Placing your subjects upon the grid lines or where they intersect creates a more esthetic image.
When framing a thumbnail, try to use the “rule of thirds” to create a more visually appealing image.
Use an Expressive Headshot
A human face in the thumbnail can directly catch the eye of a potential viewer. We are wired to recognize human faces when we see one.
Just go to YouTubes trending, and you will see that most thumbnails have some very animated facial expressions in them. You will see many YouTubers making funny expressions or pointing towards text in the thumbnail. It’s an effective method that raises curiosity in a potential viewer.

How to Capture a Good Headshot
When you are done shooting a video, keep recording as you pose for a headshot. Try some different poses, so you have plenty of material to work with later. On your computer, simply go through the frames in that section and save a frame you think is best.
Background
There are many different backgrounds you can use for a thumbnail. Some people use the original background from the video, others use an image, and others use a solid color.
If you have time, you can even illustrate a youtube thumbnail. This has worked well for many channels on youtube.
Whatever background style you pick, make sure to make the foreground and text stand out. We will go more into that later.
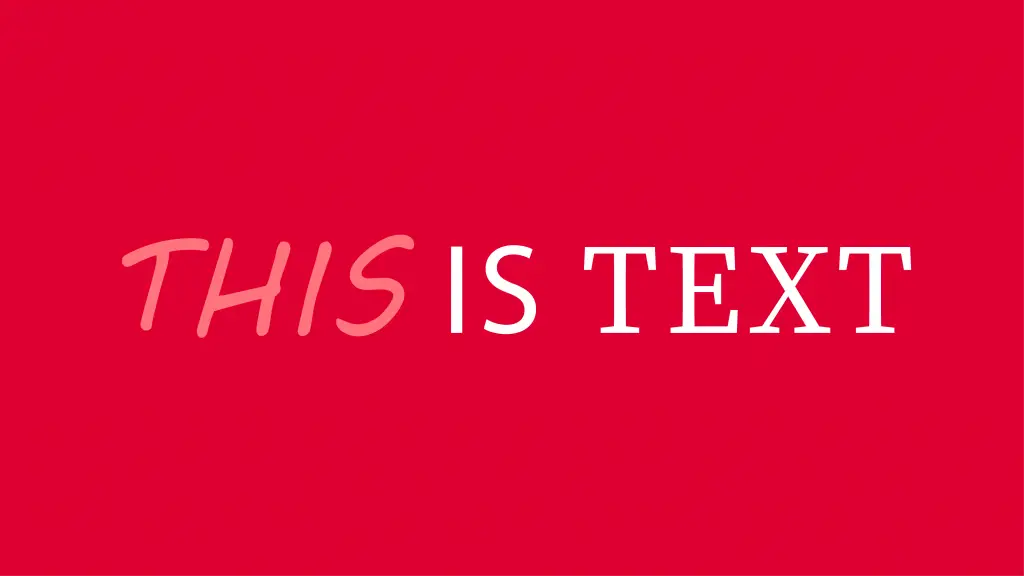
Understand Contrasting
Some color combinations are just harder to see that others. Look at this example:
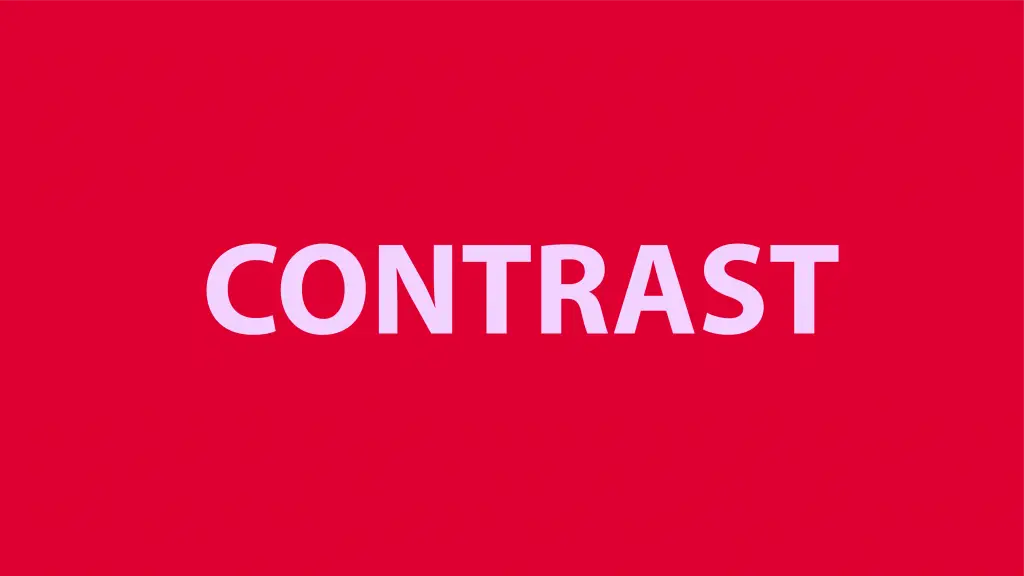

To use colors effectively, make sure you use a contrast between the text color and the background color.
Text and Form
Remember that stuffing a lot of words into the thumbnail has a negative effect. Generally, try to include 1-3 keywords in the image.

When putting text on your thumbnails, use bold fonts. Many people also have their text in all caps. The goal is to make the text stand out or “pop.”
Tip: If your background image makes your text stand out less, use a background box behind it to make it stand out. Make sure to use your brand colors.
You can also mix fonts in the headline when you have more than one word. This can create a cool looking headline in your thumbnail.
Use of Custom Fonts
While most tools give you many fonts to choose from, you can choose to download custom fonts if you want to. You can do this form a site like DaFont, for example.
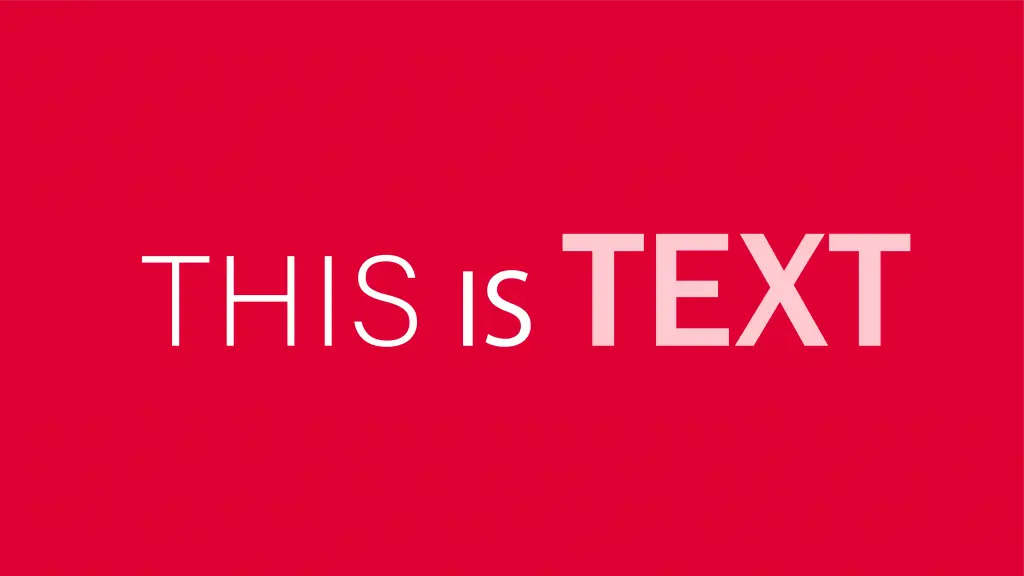
Sticker Effect
As you might have noticed, many YouTubers use the sticker effect in their thumbnails.
The sticker effect is simply a bold white line that separates an object, text, or headshot in the foreground from the background. Here are a few examples.
You can use it in your thumbnails if you like. It is not a fit for everyone, though.
Don’t Clickbait
Whenever we are talking titles and thumbnails on youtube, the subject of clickbait often arises.
It is never good to misrepresent a video through a thumbnail to get more clicks. While it might lead to some short term gain in clicks, it does not last. Remember that a perfect thumbnail can never substitute good valuable content for your audience.
Consistency
Without some consistency in your thumbnails, they will start to look a bit off. Make sure to use the same colors (your brand colors ideally) and the same fonts in all your thumbnails. This makes your videos stand out, and viewers can quickly connect a video thumbnail to your channel.
When your thumbnails are frequently shown in your viewer’s recommended section, they will start recognizing your brand in your channel, creating recall value.
Tools for Creating Youtube Thumbnails
Many people think they need some expensive software like photoshop to create a good youtube thumbnail. This could not be further from the truth. Although Photoshop is a great tool, if you already have it, there are many free tools you can use to design amazing thumbnails for your videos.
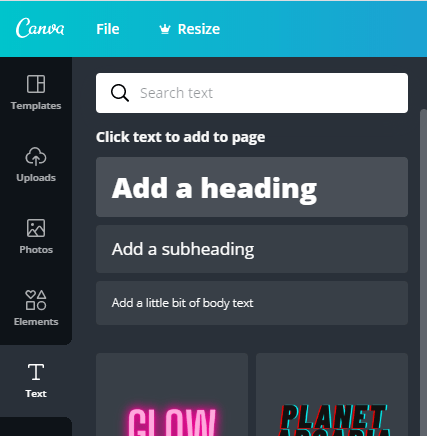
1. Canva
Canva is an online tool where you can create graphics for blogs, youtube channels, and social media.
It is easy and completely free to use. You also have the option to get a paid version, but you won’t need it for a simple youtube thumbnail. Canva even has a pre-made youtube thumbnail template you can use.
2. PixelLab
PixelLab is an app that can allow you to create custom youtube thumbnails on your phone. Like Canva, you can include text, images, and other vector files to your thumbnail.
3. PowerPoint
If you think about it, PowerPoint has all the tools you need to create a great youtube thumbnail.
4. Keynote
Keynote is Apple’s alternative to PowerPoint. It is also a useful tool that is quick and easy to use.
5. Gimp
Gimp is a free, open-source image editor. It is a powerful tool that you can use to create thumbnails for youtube.
Keep in mind that Gimp is harder to use than the other tools mentioned. You might want to check out a few tutorials before jumping in.
6. Adobe Photoshop (paid)
Photoshop is the go-to paid option if you want to create a thumbnail.
It offers a wide range of photo editing tools, but when creating a thumbnail, you will only be using a fraction of the features provided. That is why you should not get photoshop only for creating thumbnails. Instead, use photoshop if you already have it for other projects or planned to get it anyway.
How to Make a YouTube Thumbnail In Canva
Go to www.canva.com and create an account. Then simply follow the steps below.
1. To make a thumbnail, you want to create a new project using custom dimensions. As we mentioned above, you want an image that is 1280 x 720 px in size. You can also choose one of many pre-made templates in Canva.

2. To upload an image to your project, simply click on upload image in the menu bar.

3. Add text, banners, icons, and other widgets to your image.
4. Customize fonts and backgrounds like we showed you above until you are happy with the image.
5. Lastly, you will want to download the finished thumbnail and upload it to your YouTube video.
If you want a step-by-step tutorial on creating a thumbnail in Canva, we found this handy video for you by Justin Brown at Primal Video:
In Conclusion
By now, you should know how to make a great youtube thumbnail. By understanding the tactics above, you should be ahead of many other vloggers. Go out there and apply the strategies you learned, and you might soon start seeing results.